|
ENDOBUTTON
SIZE GUIDE CALCULATOR
|
|
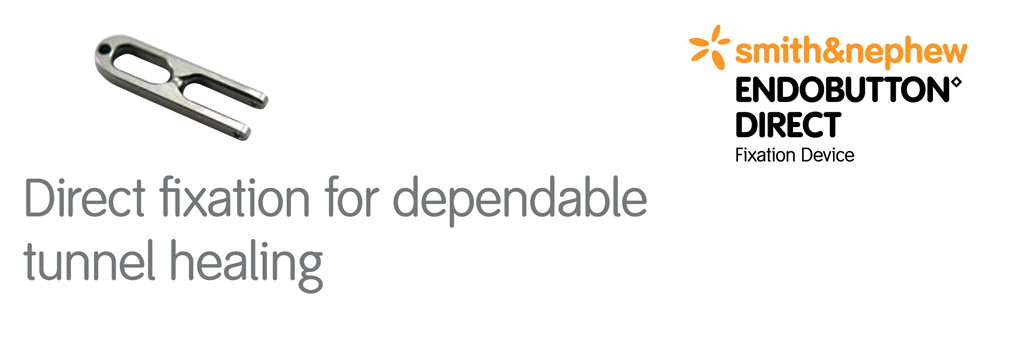
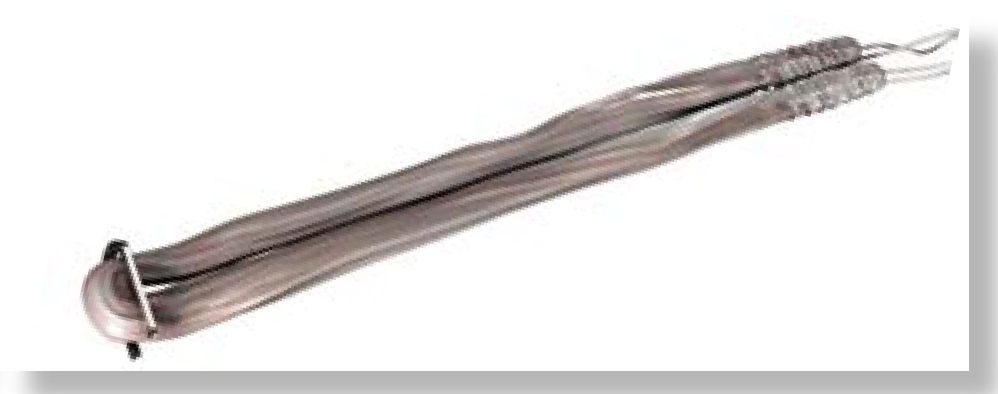
Introducing the ENDOBUTTON™ Direct Fixation Device, a new addition to the ENDOBUTTON™
family of fixation devices.
The unique design of the ENDOBUTTON Direct Device allows for direct fixation of
the graft onto the button, thereby maximizing the amount of graft in the femoral
tunnel. This revolutionary technology provides an ideal solution for accommodating
shorter femoral tunnels which often result from anatomic techniques including single
and double bundle ACL reconstructions. As an added benefit, this versatile device
continues to utilize the familiar flipping technique invented by Smith & Nephew
and is also employed by the entire ENDOBUTTON family of fixation devices. ENDOBUTTON
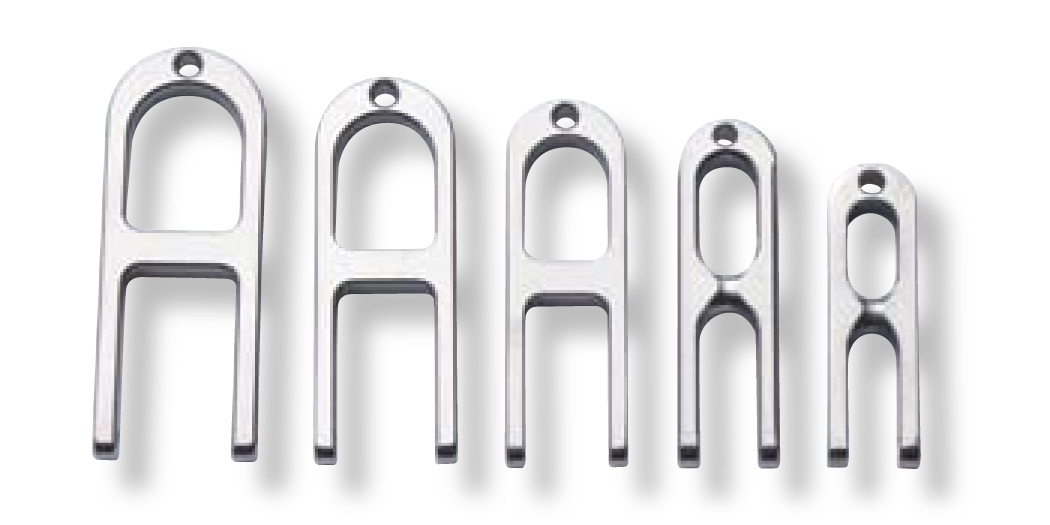
Direct Device is available in five sizes from 5 mm to 9 mm to accommodate a broad
range of graft and tunnel sizes.
Technique
The ENDOBUTTON™ Direct Device utilizes one-step drilling (all the way through the
cortex on the femoral side), minimizing the number of steps required.
|
1
|
Measure the graft.
|
|
2
|
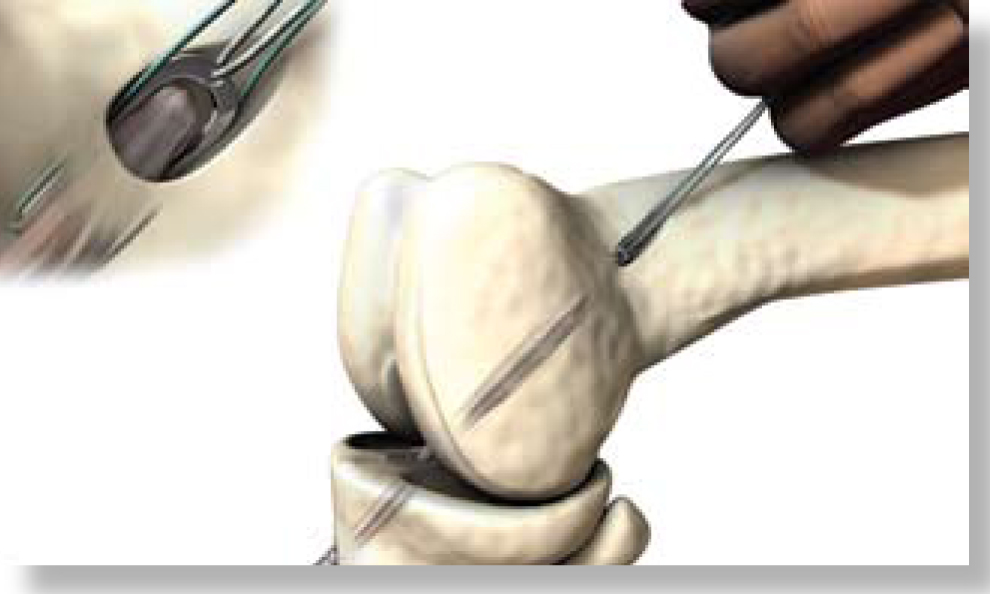
Drill femoral and tibial tunnels ensuring that you drill all the way through the
cortex on the femoral side.
|
|
|
TIP: Drilling the femoral tunnels through the anteromedial portal will create shorter
more anatomic tunnels.
|
|
3
|
Measure the total length of the tunnel and ensure that you have enough graft to
fill both the femoral and tibial sides.
|
|
|
TIP: If graft is not long enough, use either the ENDOBUTTON CL ULTRA device with
XTENDOBUTTON on the femoral side or a fixation post on the tibial side.
|
|
4
|
Choose the ENDOBUTTON Direct Device size that corresponds to the graft size. (Accommodates
sizes 5 mm through 9 mm.)
|
|
Ordering Information
|
72201206
|
5 mm ENDOBUTTON Direct Device
|
|
72201207
|
6 mm ENDOBUTTON Direct Device
|
|
72201208
|
7 mm ENDOBUTTON Direct Device
|
|
72201209
|
8 mm ENDOBUTTON Direct Device
|
|
72201210
|
9 mm ENDOBUTTON Direct Device
|
|
72201212
|
ENDOBUTTON Direct Holder
|
|
72201600
|
ENDOBUTTON Direct Scale
|
|
015185
|
ENDOBUTTON Depth Probe
|
|
|
5
|
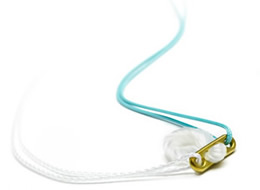
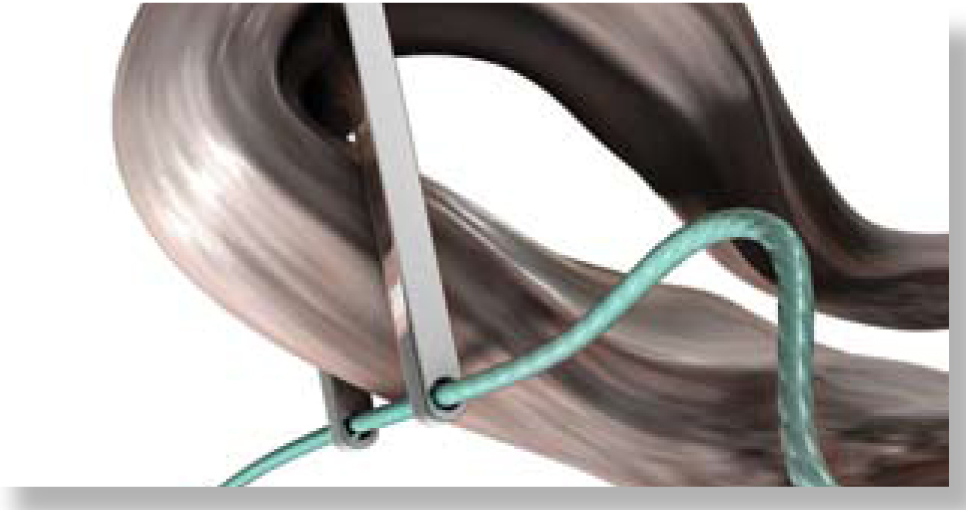
Pull one end of the graft through the closed end of the ENDOBUTTON™ Direct Device.
|
|
|
TIP: Ensure that the whip stitch is tight to avoid adding bulk to the graft. This
will make it easier to pull through the device. For single bundle techniques, utilizing
both the semi-tendinosus and gracilis grafts, passing one graft at a time through
the closed end of the button will simplify loading the button.
|
|
|
6
|
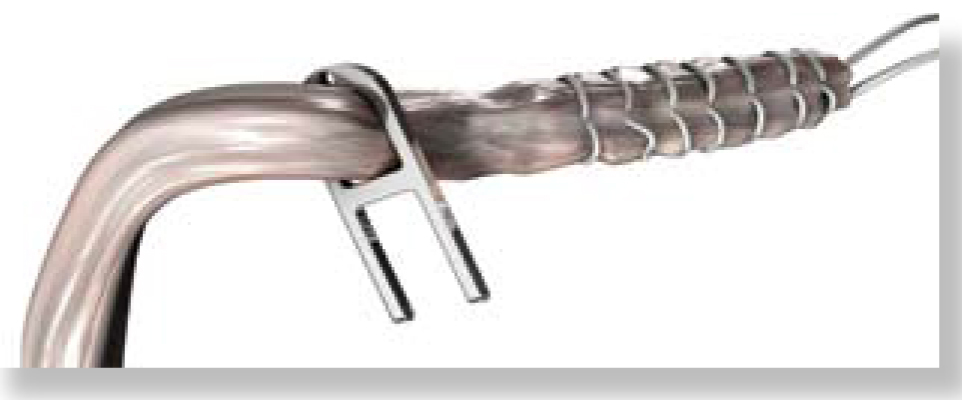
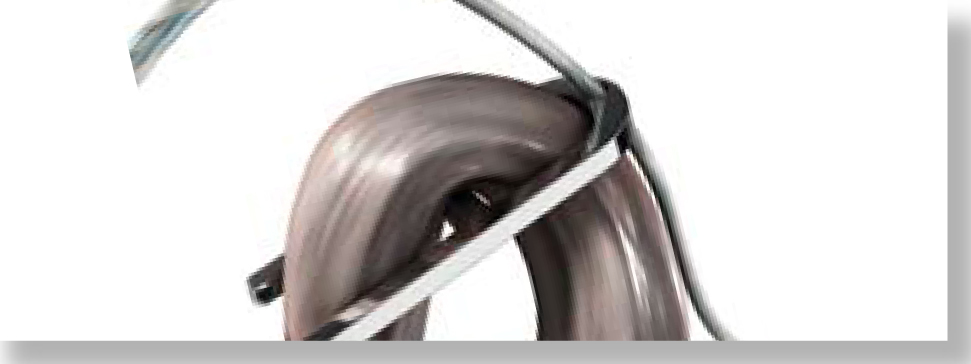
Wrap the graft around the center bar of the ENDOBUTTON™ Direct Device and through
the open end.
|
|
7
|
Ensure that the ends of your grafts are even.
|
|
|
8
|
Attach a #5 braided polyester or a #2 ULTRABRAID co-braid lead suture to the ENDOBUTTON™
Direct Device in the hole on the closed end of the device.
|
|
|
TIP: Using heat tipped sutures and different colors for leading and flipping will
make it easier to load the sutures and pass the graft.
|
|
|
9
|
Attach a #2 braided polyester flipping suture to the ENDOBUTTON Direct Device through
the two holes at the open end of the device.
|
|
|
TIP: To ensure that the button is oriented completely vertical in the tunnel, you
may want to leave a small loop in the suture between the two holes.
|

|
|
10
|
Measure the femoral tunnel length.
|
|
11
|
Mark the graft at the length of the femoral tunnel.
|
|
12
|
Mark the graft at the flipping distance required for the size of the device that
you are using. (See table below for distance.)
|
|
ENDOBUTTON™ Direct Device Size
|
Flipping Distance Required
|
|
5 mm
|
8 mm
|
|
6 mm
|
9 mm
|
|
7 mm
|
10 mm
|
|
8 mm
|
11 mm
|
|
9 mm
|
11 mm
|
|
|
13
|
Pass the graft using the standard ENDOBUTTON technique.
|
|
|
TIP: To prevent pulling the device into the soft tissue,
ENSURE that you apply sufficient counter tension to the graft on the tibial side.
|
|
Endoscopy Smith & Nephew, Inc. 150 Minuteman Road Andover, MA 01810
|
www.smith-nephew.com
T +1 978 749 1000 US
|
™Trademark of Smith & Nephew. Reg US Pat and Tm Office. ©2007 Smith & Nephew,
Inc. All rights reserved Printed in USA 09/07 10600345 Rev.A
|
The Calculator is a free application made available to the healthcare professional
for assistance in determining sizes associated with a ligament reconstruction procedure.
In the final analysis, the preferred sizes are those which address the needs of the
specific patient. As such, the responsibility of calculating the correct sizes for
each procedure lies solely with the healthcare professional. Smith & Nephew makes
no warranties, express or implied, regarding the fitness of the Calculator or its
software for any particular purpose. Smith & Nephew claims no liability for any
problems caused directly or indirectly by the Calculator or its software. The healthcare
professional is assuming the entire risk as to the quality and accuracy of the Calculator
and its software.